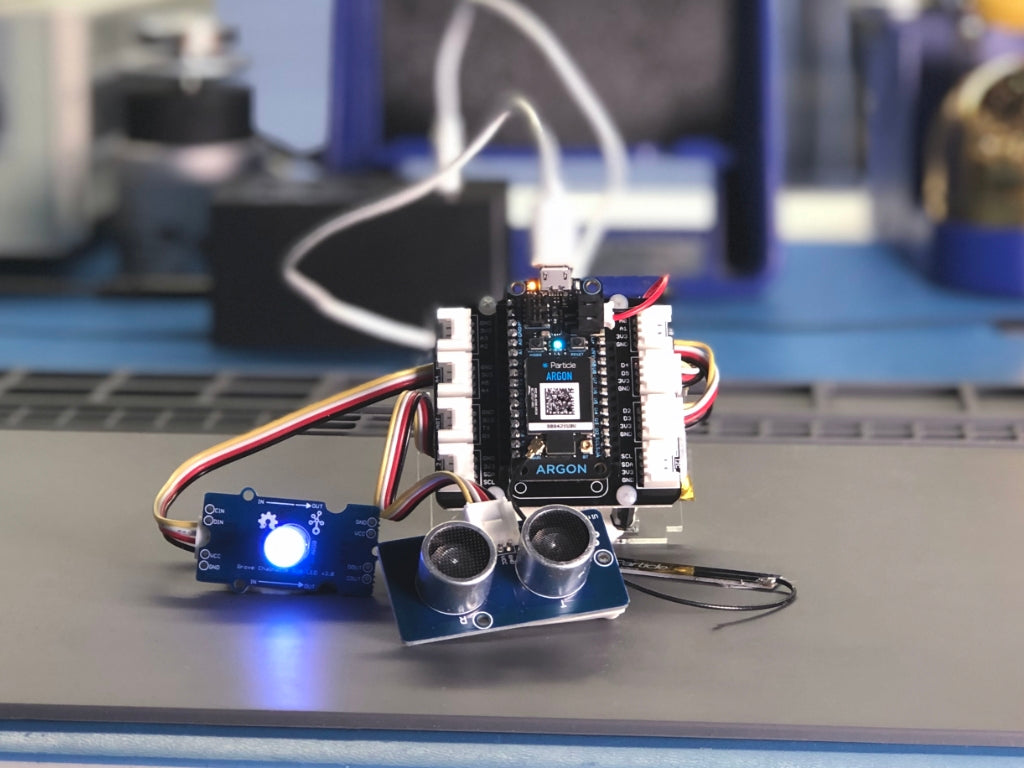
In this tutorial, I will show you how to make a simple proximity detection device using the Particle IoT Starter Kit. The goal of this project is to use the ultrasonic range finder to measure the distance to an object from my Argon.
I'll also show you how to set a distance threshold, so when any thing comes close to your Argon, an RGB LED will illuminate. There's no complicated wiring necessary and you don't need a soldering iron. This project takes advantage of the plug-and-play modularity the Grove system. You'll have your detector built in minutes regardless of your familiarity with circuits and I have all the code ready for you to try with a click of your mouse.
Required hardware
You'll use the following components from the IoT Starter Kit:
- (1) Particle Argon — this project assumes you've set up your Argon. If you've not done that yet, follow the instructions here before you begin this project.
- (1) Grove Starter Kit for Particle Mesh — the kit comes with a number of different sensors a few of which you'll use in this project.
- (1) Grove shield for Particle Mesh
- (1) Chainable RGB LED V2
- (1) Ultrasonic range finder
- (3) Grove wires
Step 1: Build the hardware
Attach your Particle Argon to the Grove FeatherWing adapter. Then wire the Grove modules to the FeatherWing as listed in the table.
| Grove FeatherWing port | Sensor |
|---|---|
| D2 | RGB LED |
| D4 | Ultrasonic range finder |
Step 2: Deploy the software
Click this link to open the Particle Web IDE and the code for this project. To import the code to your Particle account, click the COPY THIS APP button on the left of the screen. Next, connect your Argon to your laptop with your kit's included micro USB cable. With the connection made, click the lightning bolt icon in the top left of the Web IDE. As soon as you click, your project source code will be compiled in the cloud into a binary file — often called firmware. compile the project source code and send the binary files to your Argon. That's it. Assuming you've wired your project according to the table above, your 4-digit display should be showing the current ambient temperature.
Step 3: Customize the project
Congratulations! You built a simple proximity detector. But this is just the start of what you can build. Learn how you can use an Argon with the IoT Starter Kit to build a Wi-Fi thermometer that displays the current temperature on a display and in the cloud.

